

As I mentioned in Update 10, the Turbo II rear end was one of the most valuable pieces of the entire parts car. Instead of pulling the differential, axles, brakes and hubs and swapping them over to Project LSX-7, I decided to just use the entire Turbo II subframe. This made installation easier and since the parts car had nearly the same mileage as the shell, I wasn’t too concerned about its structural integrity. Before I bolted the subframe up to the S5 chassis, I wanted to upgrade a few areas that nearly everyone who drag races these cars recommends.
The rear subframe was already removed from the Turbo II parts car which meant that this would be the ideal time to perform the modifications. Per recommendations by members on NoRotors.com, I decided to go with solid subframe and differential bushings as well as reinforcing the front differential mounting point. Wheel hop is prevalent on many rear wheel drive cars when launched at the strip. Wheel hop can destroy axles and differentials so it’s always a good idea to minimize any chances of it happening.
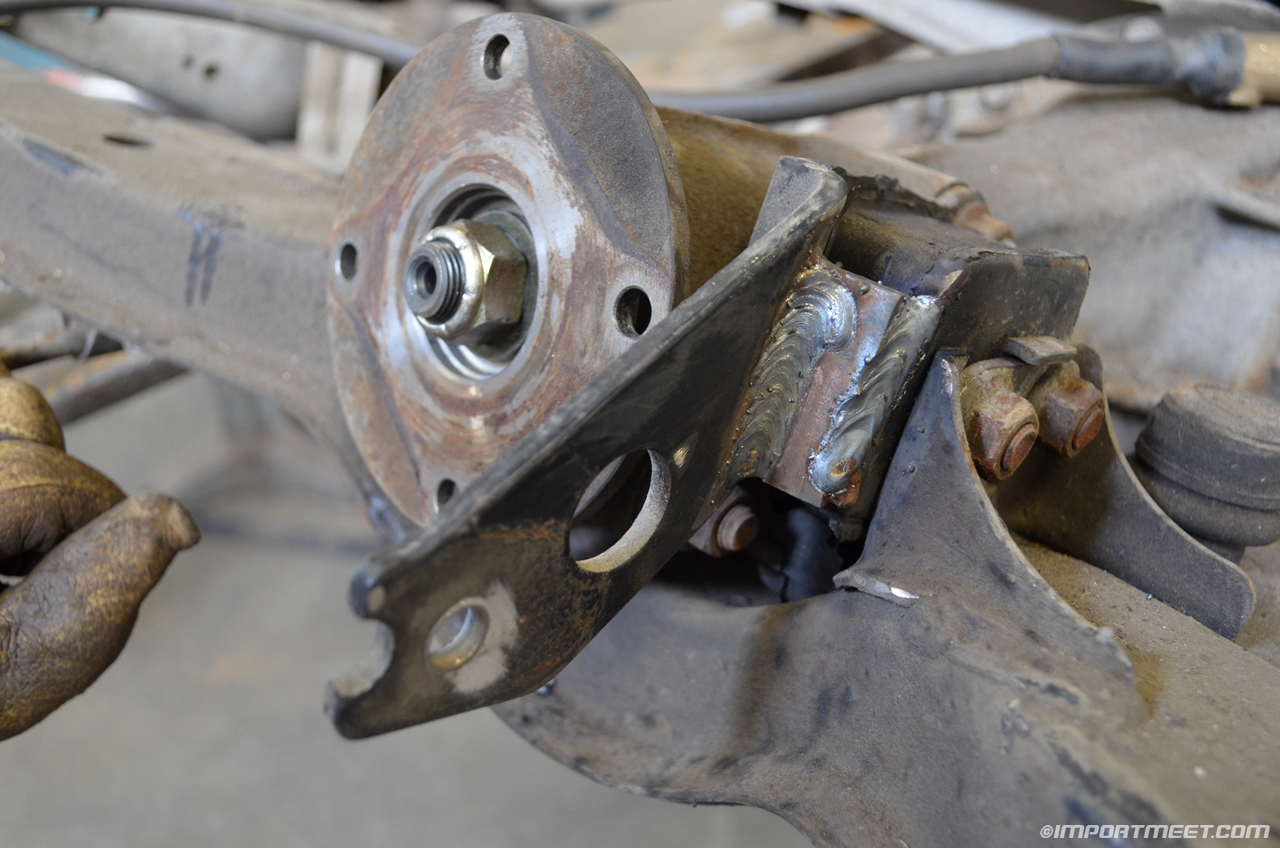
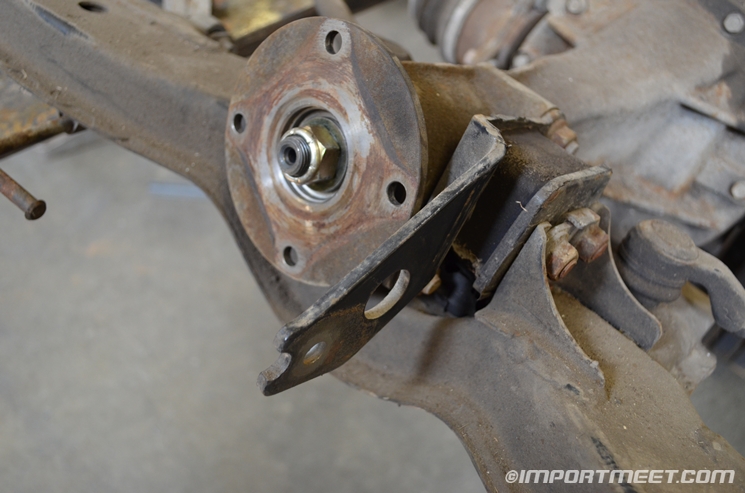
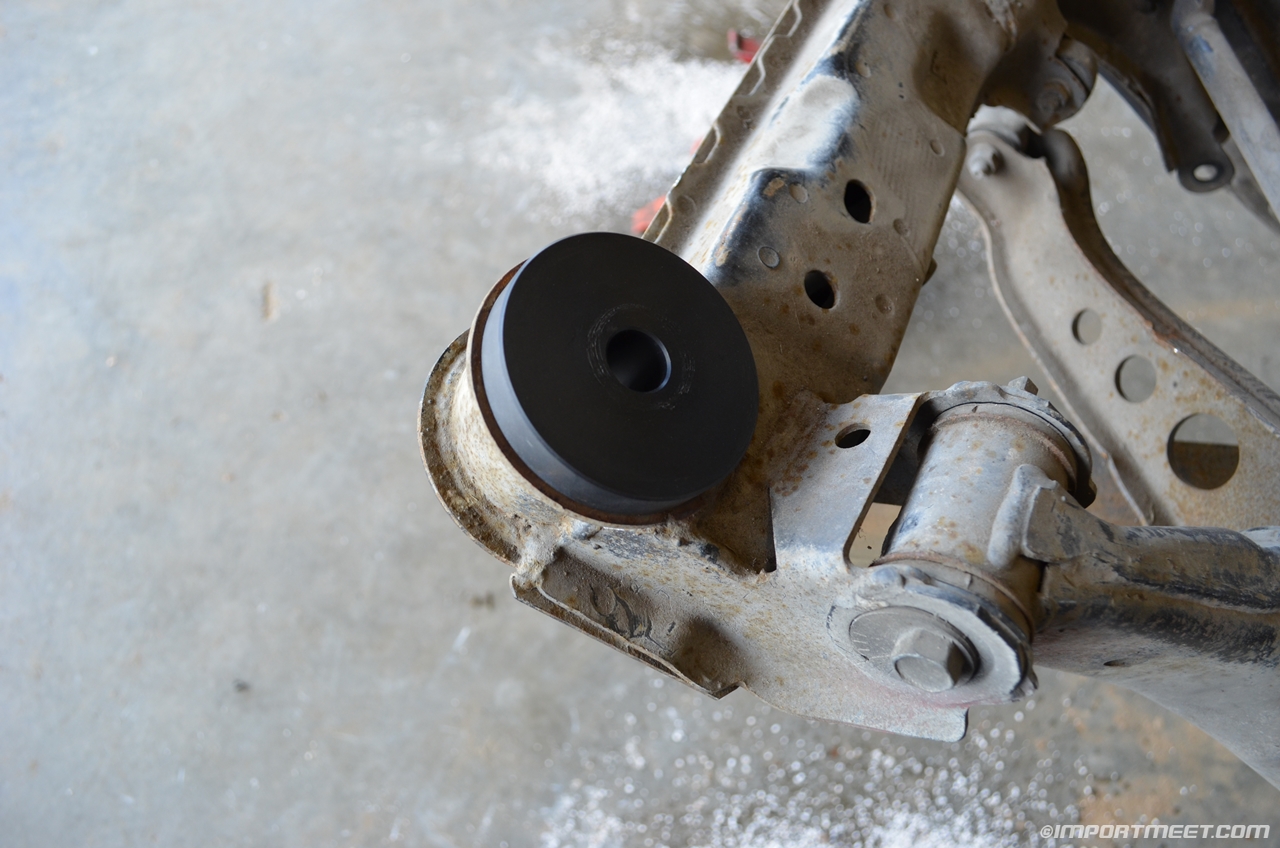
The photo above shows the front mount which is comprised of a rubber bushing between a mount on the differential and subframe. A metal arm extends forward which holds a rubber block that hangs freely (not shown). I’m assuming this acts like a vibration dampener making the car more bearable to drive for the average person. On NoRotors.com, many members suggest rigidly attaching this arm to the subframe and boxing in the upper area for added strength. This means that more noise and vibrations are transmitted into the cabin, but since this is a race car, I’m not too concerned. The photo above shows the first plate welded on which boxes in the front of the mount.
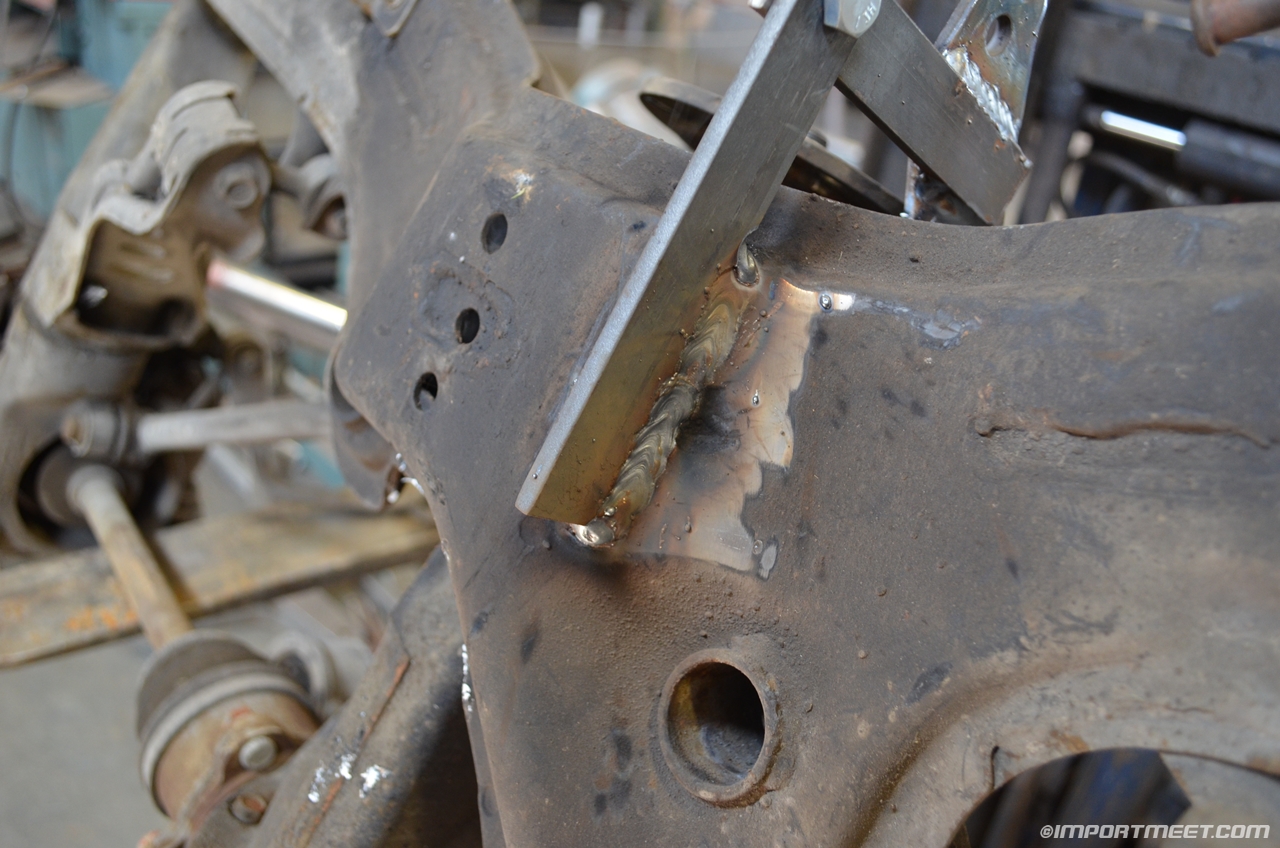
Two pieces of approximately 1/8″ thick steel were used to mount the arm to the subframe. A hole was drilled through both pieces and a 3/8″ bolt was attached with a nyloc nut which allows the top piece to pivot when the differential moves. Once the welding as complete, the parts were painted black to prevent any rust from forming (see top photo).
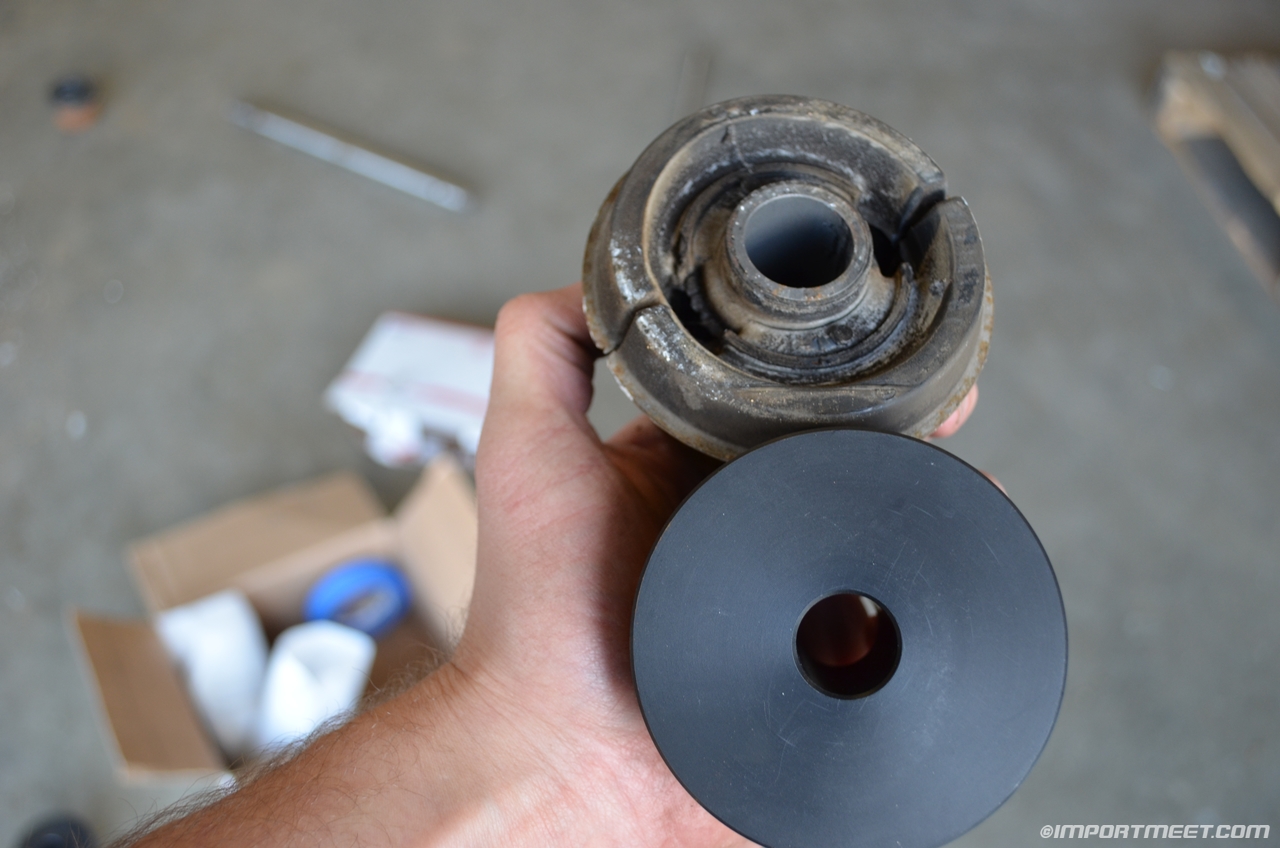
The next step in stiffening up the rear of the car was to replace the worn rubber bushings with solid UHMW plastic ones. These were purchased from a vendor named pdrmotorsports on eBay. These are machined bushings made of heavy plastic (like Delrin) which is self-lubricating. I wanted some compliance and I wasn’t ready to go aluminum in the rear. From what I hear, these perform nearly the same and they were more affordable.
The old rubber bushings were removed by cutting the webbing and the new ones were pressed in with some assembly grease. Below you can see the complete subframe with the solid bushings installed.
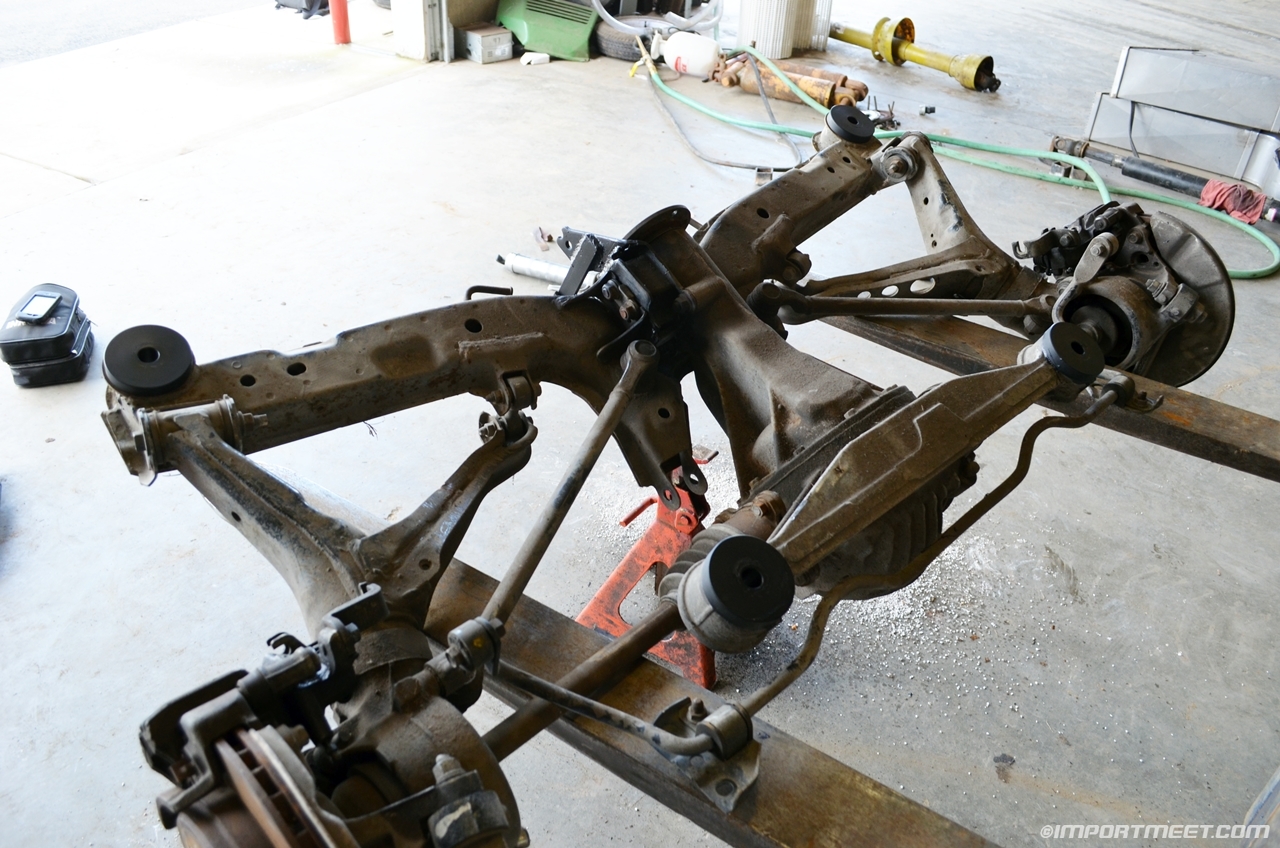
The final step was to install the entire assembly on Project LSX-7. The old subframe was removed and the modified one was installed.
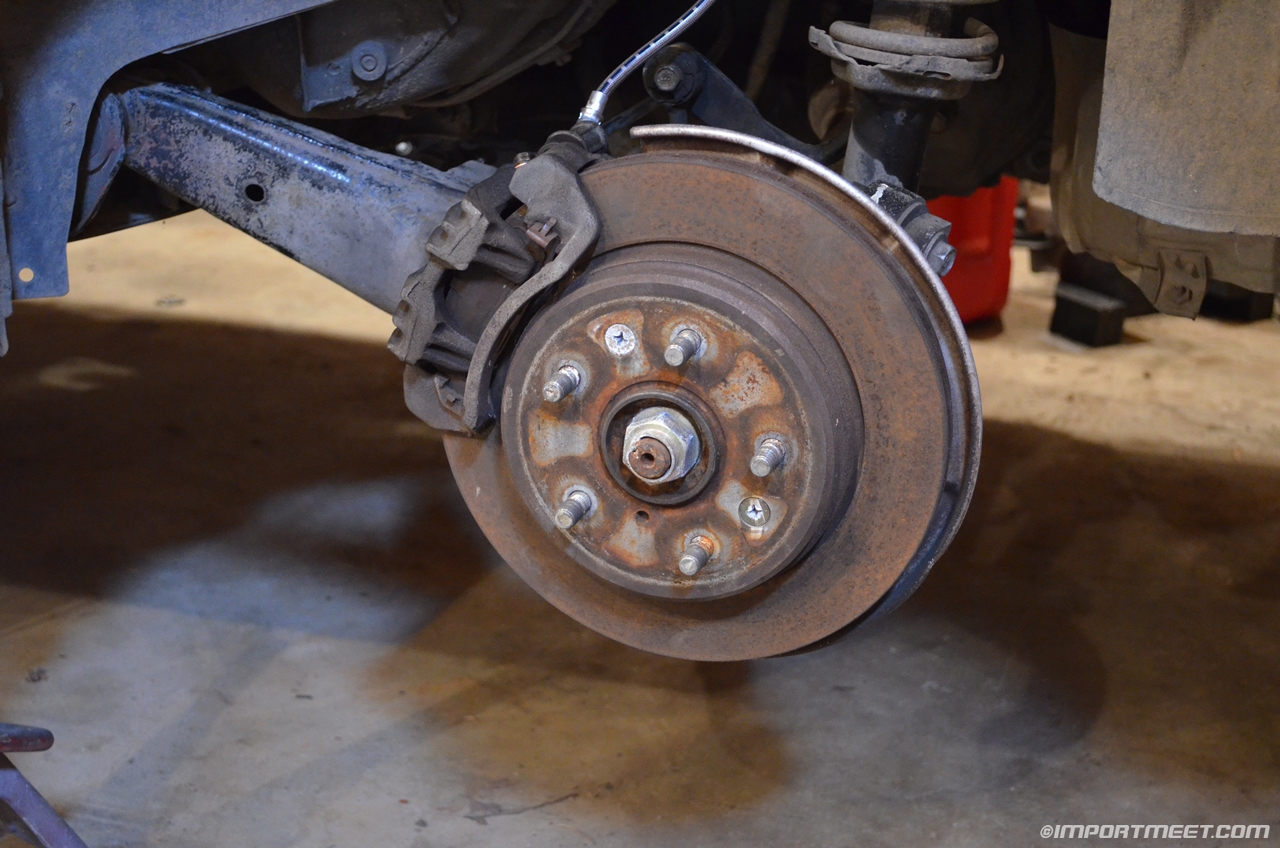
As mentioned in my previous post, the Turbo II came with rear vented brakes which can be seen above. This was a great time to install the rear Corksport braided lines and torque everything to spec. At this point, the wheels are ready to mount whenever the car is ready to move on its own power. Big updates are coming soon, make sure to bookmark the following link to see all of the latest updates on the project:
https://www.importmeet.com/projects/lsx-7/
Thank you to Kyle (Quicksilver_s14) for all of his help welding and modifying the rear subframe.
Previous posts about Project V8 RX-7:
Update 10 – S4 Turbo II Parts Car
Update 9 – L33 Modifications and Preliminary Install
Update 8 – Ronin Speedworks LSX Mount Kit
Update 7 – Improved Racing Oil Pan Baffle Install
Update 6 – Parts Engine Teardown
Update 5 – 5.3L Engine Purchase
Update 4 – The New Shop
Update 3 – Drivetrain Choices
Update 2 – Interior and Wiring
Update 1 – Engine Bay Preparation
Introduction to the Project
2 Comments
As a drag racer, I don’t recommend the box welded front mount. That will eventually lead to a cracked subframe and, in a very extreme circumstance, potentially a broken diff housing, (which I’ve done another way.) The link to the subframe is another way to solve the same issue, but if it does not have play to allow flex, it too can be torn from the subframe.
What works for me is a well placed pinion snubber preloading the snout of the differential. I may upgrade the front diff mount to a stiffer Mazda competition mount eventually, but for now I only run a stock mount & a polyurethane snubber.
I’ll keep that in mind. I do have a spare subframe that I could use if this ends up failing, but from what I’ve read on NoRotors it seems like a decent solution. I really hope it doesn’t break the diff housing. 🙁
I may look into a pinion snubber to help out as well. I feel like the more things you can do to help alleviate the problem, the less likely things are to break.
Thanks for the advice!